

Optimizing Datatype Management for Data Engineering and Machine Learning in Snowflake with Python
In the realm of data analytics, the choice of appropriate tools can significantly enhance your efficiency. If you’re engaged in data-related tasks and aim for increased productivity, this blog post is tailored to your needs.
Drawing from my own experiences, I encountered notable challenges when attempting to incorporate various data types, such as dates and times, into Snowflake tables. This issue is a common hurdle for professionals like Machine Learning Engineers and Data Engineers, who need to proficiently manage diverse data types to ensure data coherence at the destination, which is crucial for accurate Machine Learning operations.
For instance, in my journey of constructing a machine learning model using Python, I faced the task of placing the final outcomes into a Snowflake table. However, I discovered that the representation of dates and times within the table wasn’t accurate. Interestingly, my colleagues in the data engineering team were also grappling with similar issues.
While I was searching for answers, I looked into the guides for Snowflake and Snowpark. Though, I realized that these resources didn’t have all the information I needed in one place to solve the exact problems I was facing. This realization prompted me to write this blog post, with the intention of assisting others who might be encountering similar obstacles.
Data Management with Snowpark
The primary objective of this guide is to offer insights into the utilization of Snowflake with Python & Snowpark, for effectively managing Snowflake tables. Our focus will be on seamlessly integrating Pandas DataFrames into these tables, even when confronted with complex data scenarios, such as those I mentioned above. Ultimately, the purpose of this endeavor is to streamline and simplify the entire process, ensuring smoother data management practices.
Now, let’s understand what Snowpark is. The Snowpark library offers a user-friendly way to handle and process data in a data pipeline. With Snowpark, you can create applications that process data in Snowflake without moving it to where your application code operates. You can also automate data transformation and processing by creating stored procedures and scheduling those procedures as tasks in Snowflake.
Steps to Enhance Data Management in Snowflake
Before we dive into the technical details, let’s set up a virtual environment and install the necessary libraries (such as `snowflake-connector-python` and `pandas`). Here’s how to do it:
- Create a virtual environment: `conda create –name myenv python=3.8`
- Activate the environment: `conda activate myenv`
- Install Jupyter Notebook: `conda install -c anaconda jupyter`
- Install snowflake-snowpark-python: `conda install -c anaconda snowflake-snowpark-python`
- Install Pandas: ‘conda install pandas`
- Launch Jupyter Notebook: `jupyter notebook`
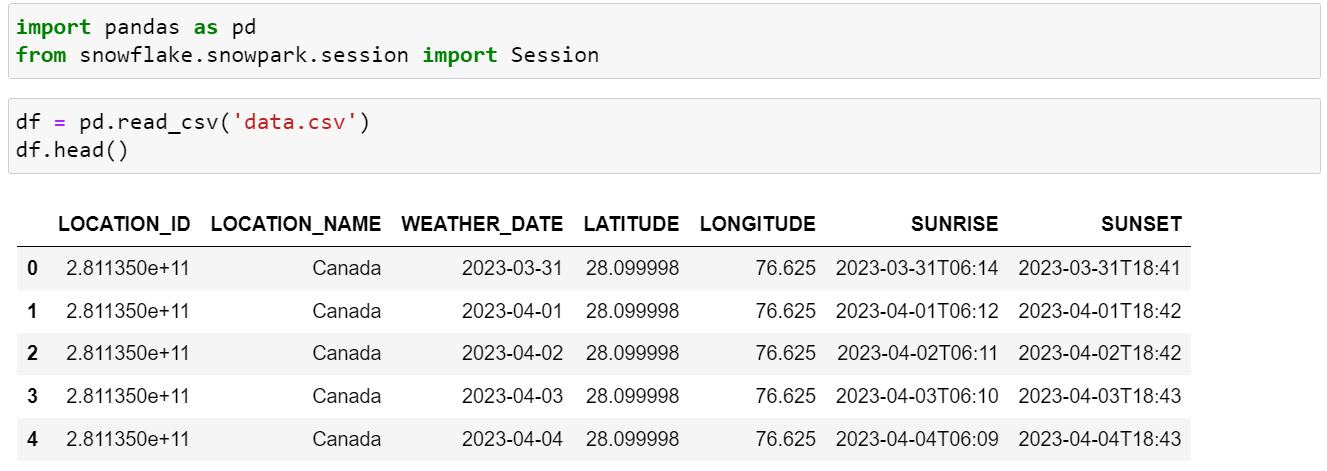
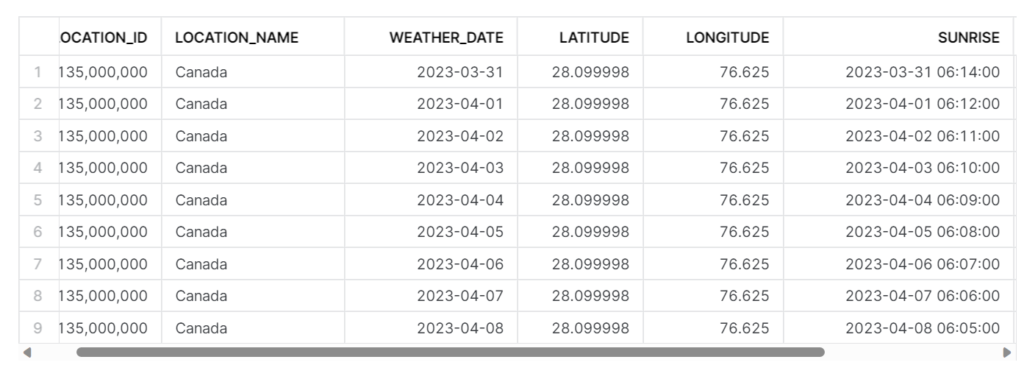
With the required libraries in place, let’s get hands-on. Suppose you have a CSV file containing datetime and date columns, and you want to push it directly to a Snowflake table. This task can be tricky since Snowflake may not always interpret the datatypes correctly, leading to errors or incorrect data formatting in the Snowflake table.
Let’s walk through the steps:
1. Load the data as a Pandas DataFrame.
2. Create a session object to establish the connection between Snowflake and Python.
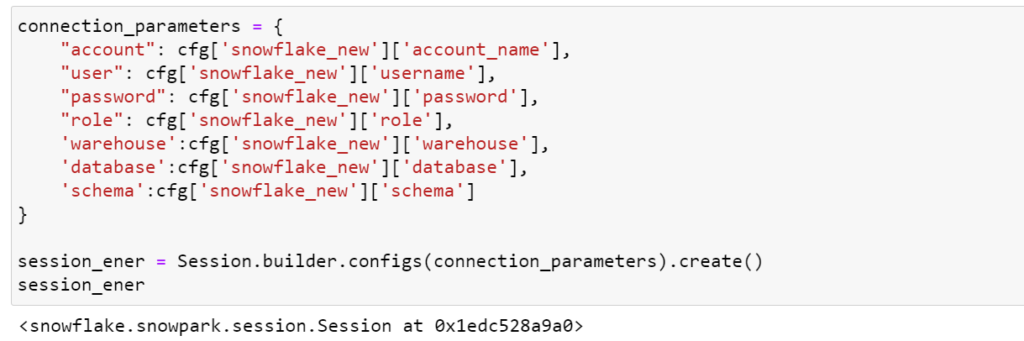
In the above code, I’m using a YAML configuration file not to disclose my credentials. You can directly provide the details in the code and it will work the same.
3. Use the session object to convert the Pandas DataFrame to a Snowpark DataFrame, as we can’t directly push the DataFrame to the Snowflake table.


However, when examining the schema of the Snowpark DataFrame, you may notice datatype mismatches between the Pandas DataFrame and the Snowpark DataFrame table (Date and Datetime datatype are considered as string). To address this, we need to perform some transformations.
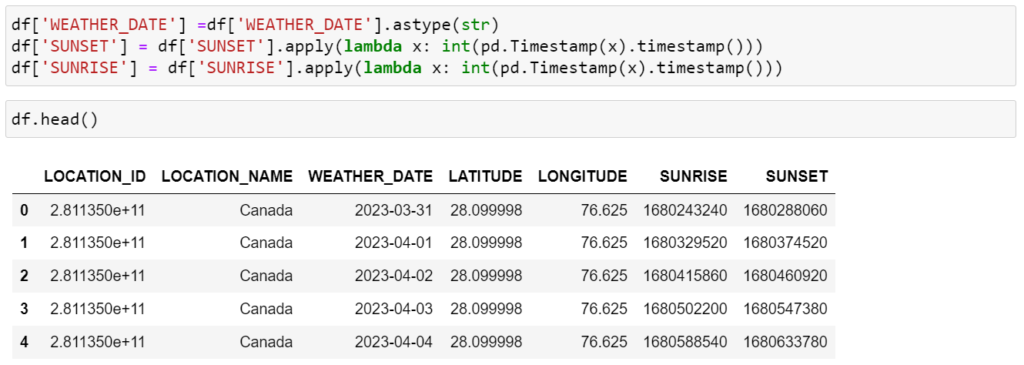
1. Import necessary libraries to handle datatype conversions.

2. Convert the date column to a string data type and timestamp data types to long int in the Pandas DataFrame.
3. Re-create the Snowpark DataFrame and adjust the datatype to the required format using methods such as `to_date` and `cast`.
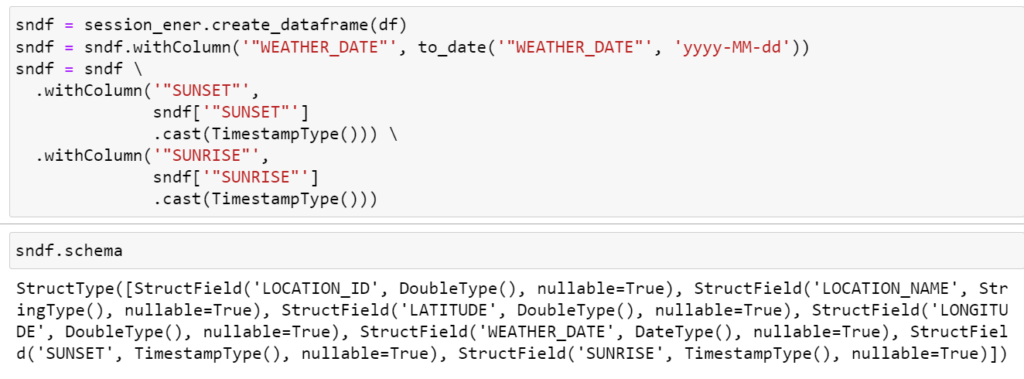
After these transformations, double-check the schema to ensure that the datatypes are now aligned with the Snowflake table’s requirements. It’s essential to keep the column order consistent, which can be achieved using the ‘col’ library.

Finally, you’re ready to push the DataFrame to the Snowflake table. Confirm the success by checking the Snowflake database.
This blog post shares a comprehensive guide to moving data from Python to a Snowflake table while overcoming potential challenges related to datatypes and column order. It’s important to follow these steps to ensure accurate and efficient datatype management in Snowflake.
Blog Credits: Akash Kanojiya
Get in touch with Digital Prudentia for a consultation so that we can help you understand your data and clearly define your obligations so that your business remains up to date with advances in the data monetization and innovation.